Cross Zone Revolution: How NA's Elite SSL Players Discovered the Secret to Cleaner Diagonal Control

Cross Zone Revolution: How NA's Elite SSL Players Discovered the Secret to Cleaner Diagonal Control
There's a configuration war happening in the highest ranks of North American Rocket League, and it's not about camera settings or key bindings. SSL players across the region are abandoning the traditional square deadzone setup that's dominated competitive play for years, switching to cross deadzone configurations that promise cleaner diagonal inputs during the most crucial aerial moments.
The shift isn't happening in public Discord servers or Reddit threads. It's emerging from the private practice sessions and team scrimmages where milliseconds matter, and where the difference between a clean aerial redirect and a whiffed opportunity can determine series outcomes.
The Technical Reality Behind Deadzone Shapes
Most competitive players understand deadzones in simple terms: the area around your analog stick's center position where inputs don't register. Set it too low, and stick drift creates phantom movements. Set it too high, and you lose precision on small adjustments.
But deadzone shape—the actual geometry of that dead area—operates on a different level entirely. Square deadzones create a box-shaped dead area around your stick's center, while cross deadzones form an X-shaped pattern that treats diagonal and cardinal directions differently.
Here's where it gets interesting for aerial mechanics: when you're executing fast aerial sequences, especially during redirect attempts or ceiling shot setups, your stick movements rarely follow perfect cardinal directions. Instead, you're constantly making micro-adjustments that fall into those tricky diagonal zones where square and cross deadzones behave completely differently.
"Square deadzones made sense when I was learning basic aerials," explains a current SSL player who switched configurations mid-season. "But once you're hitting consistent flip resets and trying to place shots with frame-perfect timing, you start noticing that diagonal inputs feel inconsistent. Cross zones eliminated that problem entirely."
Hardware Compatibility: Not All Controllers Are Created Equal
The deadzone shape revolution isn't happening in a vacuum—it's directly tied to the controller hardware that's becoming standard in competitive play. Both the PlayStation DualSense and Xbox Elite Series controllers have analog stick assemblies that respond differently to deadzone configurations, and understanding these differences is crucial for optimization.
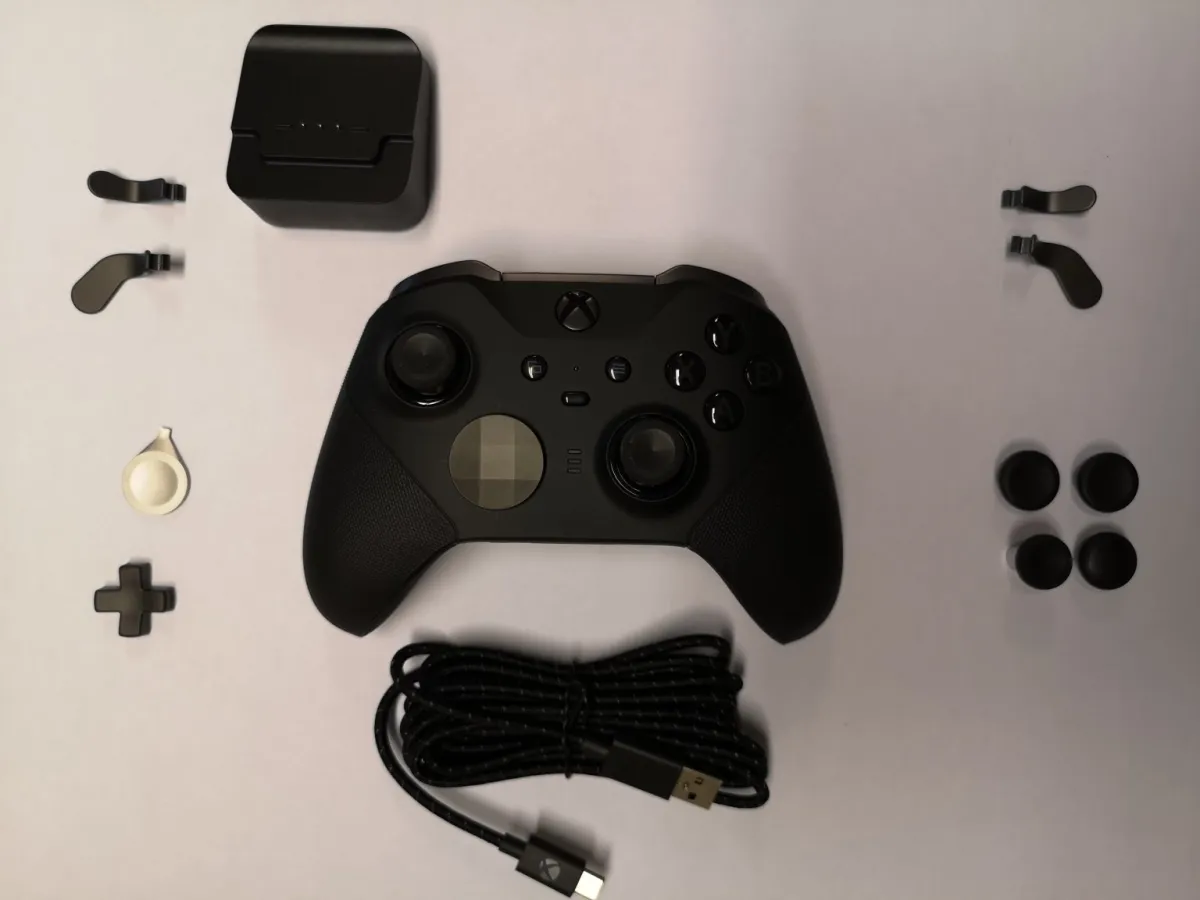 Photo: Xbox Elite Series, via gameaccess.info
 Photo: PlayStation DualSense, via content.propertyroom.com
DualSense controllers, with their more sensitive analog sticks, tend to benefit more dramatically from cross deadzone configurations. The stick's natural response curve aligns better with the X-shaped dead area, reducing the input lag that can occur when transitioning between diagonal and cardinal movements during fast aerials.
Xbox Elite controllers present a more complex picture. Their adjustable stick tension means that cross deadzones can either enhance or hinder performance depending on your tension settings. Players running higher tension often find that square deadzones provide more predictable behavior, while those using standard or lower tension settings report better results with cross configurations.
The RLCS Evidence: Mid-Season Configuration Changes
While most RLCS pros keep their exact configurations private, several high-profile players have publicly discussed experimenting with deadzone shapes during the 2025 season. The timing isn't coincidental—as the mechanical ceiling continues to rise, even small improvements in input consistency can provide competitive advantages.
One NA veteran, speaking anonymously, revealed that his team's coach actually mandated deadzone experimentation during their mid-season bootcamp. "We spent two full practice days just testing different shapes in various scenarios. The improvement in our aerial coordination was immediately noticeable, especially during passing plays that required precise positioning."
The shift is particularly visible in how teams approach high-pressure aerial situations. Cross deadzone configurations appear to provide more consistent behavior during the rapid stick movements required for advanced mechanics like stalls, tornado spins, and complex aerial recoveries.
Testing Framework: Finding Your Optimal Configuration
Rather than blindly copying pro settings, competitive players need a systematic approach to determine which deadzone shape actually improves their mechanics. Here's the testing framework that several SSL players have used to make data-driven decisions:
Phase One: Baseline Establishment
Start with your current deadzone settings and spend 20 minutes in free play focusing exclusively on aerial car control. Perform the same sequence repeatedly: fast aerial to ball height, air roll adjustment, small positioning correction, and landing recovery. Record your consistency rate for clean executions.
Phase Two: Cross Configuration Testing
Switch to cross deadzone (most players start with 0.15-0.20 deadzone values) and repeat the exact same sequence for another 20 minutes. Pay particular attention to how diagonal inputs feel during the air roll and positioning phases.
Phase Three: Mechanical Stress Testing
Move to more complex mechanics: ceiling shots, flip resets, and aerial dribbles. The goal isn't to master these immediately with new settings, but to identify whether the cross configuration provides more predictable behavior during rapid input changes.
Phase Four: Match Application
Take your preferred configuration into ranked matches, focusing on aerial consistency rather than attempting highlight-reel mechanics. Track your aerial success rate and, more importantly, your confidence in committing to aerial challenges.
The Consistency vs. Ceiling Trade-off
The deadzone shape debate ultimately comes down to a fundamental question: do you prioritize mechanical consistency or absolute ceiling potential? Cross deadzones tend to provide more predictable behavior for intermediate aerial mechanics, making them ideal for players whose rank depends on reliable execution rather than flashy highlights.
Square deadzones, conversely, offer more granular control for players who have already mastered basic aerial mechanics and need maximum precision for advanced techniques. The trade-off becomes apparent in high-pressure situations where muscle memory and confidence matter more than theoretical control precision.
Implementation Strategy for Ranked Players
For players considering the switch, timing matters enormously. Mid-season configuration changes can temporarily impact performance while muscle memory adapts, making the transition most viable during natural breaks in competitive play.
Start the transition during casual sessions or training pack work, focusing on aerial consistency rather than complex mechanics. Most players report a 1-2 week adaptation period before the new configuration feels natural, with full benefits becoming apparent after 3-4 weeks of consistent play.
The cross deadzone revolution represents something larger than a simple configuration tweak—it's evidence that even fundamental settings deserve periodic reevaluation as both hardware and mechanical expectations evolve. For NA's SSL elite, that willingness to question conventional wisdom is becoming just as important as raw mechanical skill.