Inside the Cockpit: What NA's Best RLCS Players Actually Have Configured — And How to Build Your Own Version
Inside the Cockpit: What NA's Best RLCS Players Actually Have Configured — And How to Build Your Own Version
There's a version of this article that just lists numbers. Camera FOV: 110. Deadzone: 0.05. Boost sensitivity: whatever Jstn uses. Done.
But that version doesn't actually help you. Numbers without context are just noise. So instead of handing you a spreadsheet, we dug into verified configs from NA's top 10 RLCS performers, found the consensus patterns, and — more importantly — broke down why those patterns exist. Because once you understand the mechanical reasoning, you stop copying blindly and start configuring intentionally.
Let's get into it.
Camera Settings: The View That Shapes Decision-Making
If there's one area where NA's elite players converge harder than any other, it's camera configuration. Across the top 10, Field of View (FOV) clusters tightly between 108 and 110, with the overwhelming majority sitting right at 110. This isn't coincidence — it's physics.
A wider FOV gives you more peripheral information per frame. In a game where reading your teammates' positioning while simultaneously tracking the ball and your opponents is the entire skill, that extra visual real estate is genuinely load-bearing. The tradeoff is that cars and the ball can look slightly smaller at distance, but at SSL-level processing speeds, that's a non-issue.
Camera height tends to land in the 90–110 range, with most pros favoring something around 100. Too low and you lose the overhead read on rotations; too high and you start losing your sense of car-to-ground contact during dribbles and ground mechanics.
Camera distance is where things get more personal, but the range still stays relatively tight: roughly 260–290. Shorter distances give you more car-control precision during close touches. Longer distances open up the field read. Most of the top 10 split the difference rather than going extreme in either direction.
The camera stiffness setting is one that casual players almost never touch — and that's a mistake. The majority of top NA players push this to 0.00, meaning the camera doesn't swing or float when you flip. It locks to your car. This is almost universally better for mechanical consistency because your visual reference point doesn't shift mid-play.
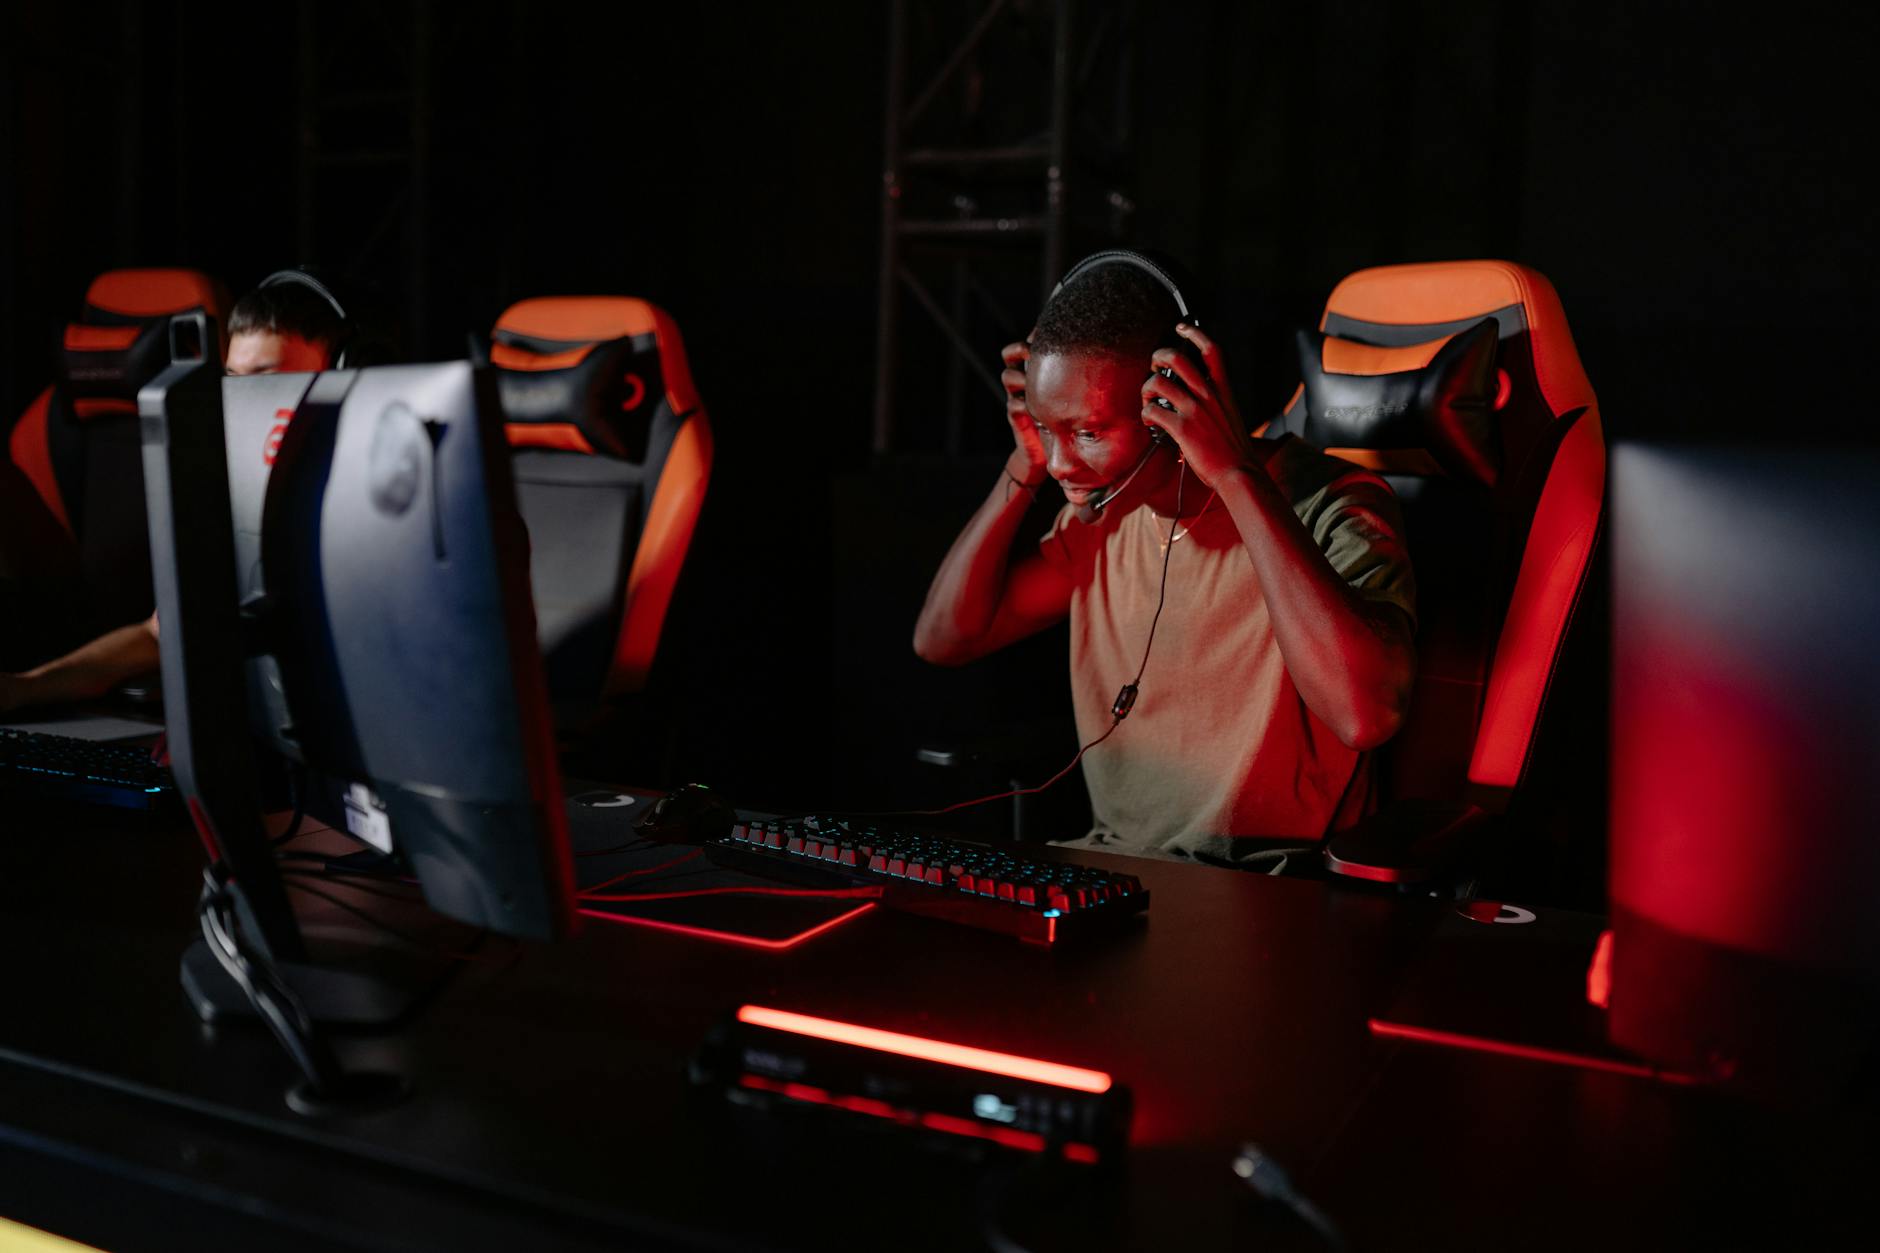
Controller Bindings: The Layout Logic
Controller choice in NA's top tier is almost exclusively PlayStation-style controllers — DualSense and DualShock 4 variants dominate, with a handful of Xbox controller users. What matters more than the hardware though is how the buttons are mapped.
The most common binding pattern puts boost on R1/RB and powerslide on L1/LB, keeping the face buttons free for jump and aerial rotation. This setup lets you boost and jump simultaneously without awkward finger gymnastics — critical for fast aerials and wave dashes.
Some players flip boost to a face button (Square/X), which can feel more natural for certain playstyles, but it's the minority configuration. The R1 boost placement is close to a consensus at this level.
Air roll bindings are more split. Air Roll Left/Right on separate buttons (rather than the default single air roll) is increasingly common among the top 10 — it gives you directional control over your aerial rotation without having to steer into it, which opens up a broader range of recoveries and aerial adjustments.
Deadzone: The Setting That Quietly Breaks Your Mechanics
This one doesn't get enough attention. Your deadzone configuration directly affects how your car responds to stick input, and getting it wrong can make mechanics feel inconsistent in ways that are genuinely hard to diagnose.
The top NA players almost universally run very low deadzones — typically between 0.01 and 0.10 on both the left and right sticks. This gives maximum input sensitivity, meaning the car responds the moment you move the stick rather than waiting for you to clear a threshold.
The catch: a low deadzone on a worn or drifting controller will introduce phantom inputs. If your car seems to drift or steer slightly without you touching the stick, your deadzone is too low for your hardware. The pro solution is either a fresh controller or bumping the deadzone up just enough to mask the drift — usually 0.05–0.08 covers most controllers.
Dodge deadzone (which controls how far you tilt the stick before a flip registers a directional dodge vs. a neutral one) tends to sit around 0.70–0.80 for most of the top 10. This is intentional — a higher dodge deadzone means you have to commit more deliberately to a directional flip, reducing accidental misdirects during pressure situations.
Boost Sensitivity and Input Linearity
Most players don't realize there's a sensitivity curve applied to your analog inputs beyond just the deadzone. The steering sensitivity setting (sometimes called input sensitivity in third-party tools) affects how aggressively the car responds across the full range of stick movement.
The top 10 tend to keep this close to default (1.00) rather than cranking it. The reasoning: at higher sensitivities, small stick movements produce larger steering outputs, which can make car control feel twitchy and inconsistent during ground dribbles or air dribbles where precision is everything.
The Tiered Config Recommendations
Okay, here's where we put it all together. Based on the consensus patterns above, here are three starting-point configs tailored to where you're actually at in your ranked journey.
🔷 Diamond Tier — Build the Foundation
Focus: consistency and readability over edge-case optimization.
- FOV: 108 | Height: 100 | Distance: 270 | Stiffness: 0.00
- Deadzone: 0.10 (forgiving enough for most controllers)
- Dodge Deadzone: 0.70
- Boost: R1/RB | Powerslide: L1/LB
- Air Roll: Single button (learn directional later)
🔶 Champion Tier — Refine and Specialize
Focus: tightening inputs and expanding aerial toolkit.
- FOV: 110 | Height: 100 | Distance: 270 | Stiffness: 0.00
- Deadzone: 0.05–0.08 depending on controller condition
- Dodge Deadzone: 0.75
- Boost: R1/RB | Air Roll Left/Right: mapped to face buttons
- Start experimenting with camera distance (260–280 range)
🏆 SSL Ceiling — Mirror the Meta
Focus: maximum input precision, directional aerial control.
- FOV: 110 | Height: 100 | Distance: 260–270 | Stiffness: 0.00
- Deadzone: 0.01–0.05 (test on your specific controller)
- Dodge Deadzone: 0.80
- Boost: R1/RB | Air Roll Left + Right: separate bindings
- Steering Sensitivity: 1.00 (don't touch it)
The Actual Takeaway
No config is going to rank you up by itself — but a bad config can absolutely hold you back. The settings the top NA players use aren't arbitrary. They reflect thousands of hours of iterative refinement toward one goal: making the game respond to their intentions as cleanly and consistently as possible.
Start with the tier that matches your rank. Make one change at a time. Give each adjustment at least 10–15 hours of ranked play before you judge it. And remember — the point isn't to play like Jstn or Fairy Peak. The point is to build a setup that makes your mechanics feel as sharp as possible.
That's the real config to steal.