Winning the Chaos: How Elite RLCS 2025 Pros Configure Their Setups to Dominate 50/50 Challenges

There's a moment every Rocket League player knows. The ball is sitting in open space, you and an opponent are both charging in at full speed, and neither of you has the angle advantage. It looks random. It feels random. For most players, it basically is random.
But watch enough RLCS 2025 broadcast footage — and we mean really watch it, not just the highlights — and you start to notice that certain players win those moments at a rate that defies probability. Players like Atomic and Comm aren't luckier than everyone else. They've configured their entire setups around the physical and mechanical demands of contested ball contacts, and the gap it creates is measurable.
 Photo: Comm, via www.comm-innovations.com
 Photo: Atomic, via static.vecteezy.com
This isn't about who hits harder. It's about who's already in the right position, with the right inputs firing, before the contact even happens.
Why 50/50s Aren't Actually 50/50
Let's start with what a 50/50 challenge actually is at the RLCS level. When two players converge on a loose ball at roughly equal speeds and angles, the outcome is determined by three things: the trajectory of both cars, the exact point of contact on the ball, and the boost and dodge inputs active at the moment of collision.
The first factor is largely set before you can react. The third factor — your inputs — is something you can engineer in advance. That's where config decisions start to matter.
Elite players aren't reacting to 50/50s the same way Diamond players are. They're anticipating the contact window and pre-loading the correct inputs to win it. That pre-loading is only possible if your controller setup eliminates the mechanical friction between your intent and the car's response.
Deadzone Tuning for Contested Contacts
The most overlooked config variable in 50/50 situations is deadzone shape and size. Most players set their deadzones once, forget about them, and move on. But pros who specialize in physical play — Atomic has been particularly vocal in community discussions about this — treat their deadzone as a precision instrument for ground-level aggression.
A smaller deadzone means your steering inputs register faster, which sounds universally good. But in a contested challenge, micro-corrections during your approach can actually cause your car to slightly mis-angle before contact. Some pros run a slightly larger center deadzone specifically to smooth out those approach inputs, letting the car travel in a cleaner line into the challenge.
The tradeoff is real: you lose some aerial sensitivity in exchange for more predictable ground-level car behavior in the exact moments that define 50/50 outcomes. Whether that tradeoff is worth it depends entirely on your playstyle, but it's a deliberate decision, not an accident.
Boost Sensitivity and the Pre-Commit Window
Here's something that rarely gets discussed: the analog nature of boost input plays a direct role in how your car behaves during a challenge. If you're running full digital boost — trigger all the way down, all the time — your car is always traveling at maximum acceleration. That sounds like the power move, but it also means you have zero modulation available in the 0.3 seconds before contact.
Players like Comm have been noted for their smooth, controlled approach speeds into contested balls. That's not a lack of aggression — it's precision boost management in the pre-contact window. By using partial trigger depression to fine-tune approach velocity, they can make micro-adjustments to their challenge angle that full-boost players simply can't.
If you're on a controller where your triggers have significant dead travel before registering boost, you're fighting your hardware in these moments. The fix is either calibrating your trigger sensitivity in your platform settings or switching to a controller with more responsive triggers — something the Rocket League pro scene has largely moved toward with options like the DualSense Edge and Xbox Elite Series 2.
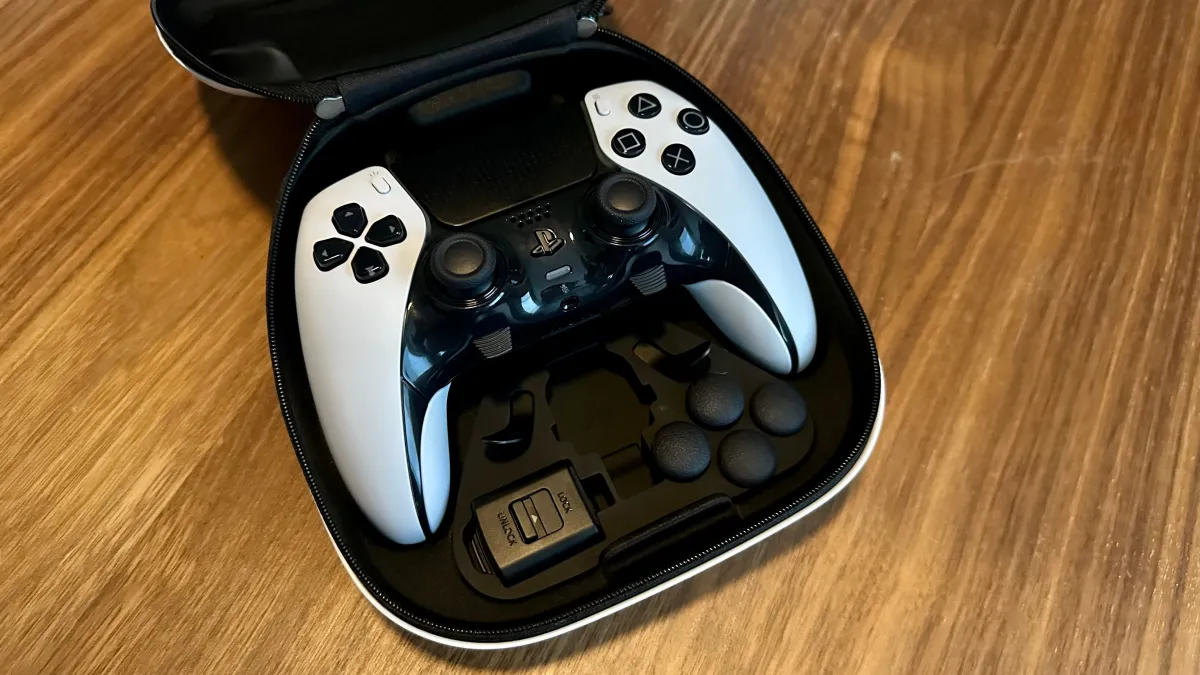 Photo: DualSense Edge, via assets-prd.ignimgs.com
Powerslide Binding and Post-Contact Recovery
Winning the challenge is only half the equation. What happens in the 0.5 seconds after contact determines whether you convert the 50/50 into a scoring chance or give it right back.
Powerslide is the underrated hero here. Players who can powerslide immediately after a contested contact can redirect their car without losing momentum, setting up a second-touch or defensive recovery before the opponent even processes what happened. But powerslide is only useful if your binding allows you to activate it while simultaneously boosting and steering — which, on a default config, often requires awkward finger contortion.
The pros who are best at post-challenge recovery almost universally have powerslide placed somewhere accessible without lifting a finger off their primary movement inputs. L3 (left stick click) is common in the NA scene for exactly this reason. It sounds uncomfortable until you build the muscle memory, and then it becomes one of those bindings you can't imagine playing without.
Reading the Challenge Before You Arrive
All of this config work only pays off if your visual setup gives you the information you need early enough to act on it. Camera FOV and distance settings directly influence how much of the field you can process during a challenge approach.
Players running tighter camera distances (in the 230–260 range) often struggle to track their own car's angle relative to the ball during high-speed approaches. Wider distances give you more peripheral information, letting you read the challenge geometry earlier and commit to your inputs sooner.
This is the config connection most players miss: your 50/50 win rate isn't just about your deadzone or your boost binding. It's about whether your camera setup gives your brain enough data to make the right pre-contact decision in the first place.
Building Your Own 50/50 Config
You don't need to copy Atomic's exact deadzone values or Comm's trigger sensitivity to benefit from this framework. What you need is a deliberate audit of how your current setup performs under contested-challenge conditions specifically.
Spend a free play session focusing exclusively on challenge mechanics. Notice where your inputs feel sluggish, where your car mis-angles on approach, and where you're losing post-contact recovery time. Then make one targeted change at a time — deadzone size, boost binding accessibility, powerslide placement — and test it across 20–30 ranked games before evaluating.
The pros aren't running perfect configs because they copied someone else's settings. They're running perfect configs because they've diagnosed their own mechanical friction points and engineered around them. That process is available to everyone.
50/50s will never be truly 50/50 for the players who've done this work. And now you know why.